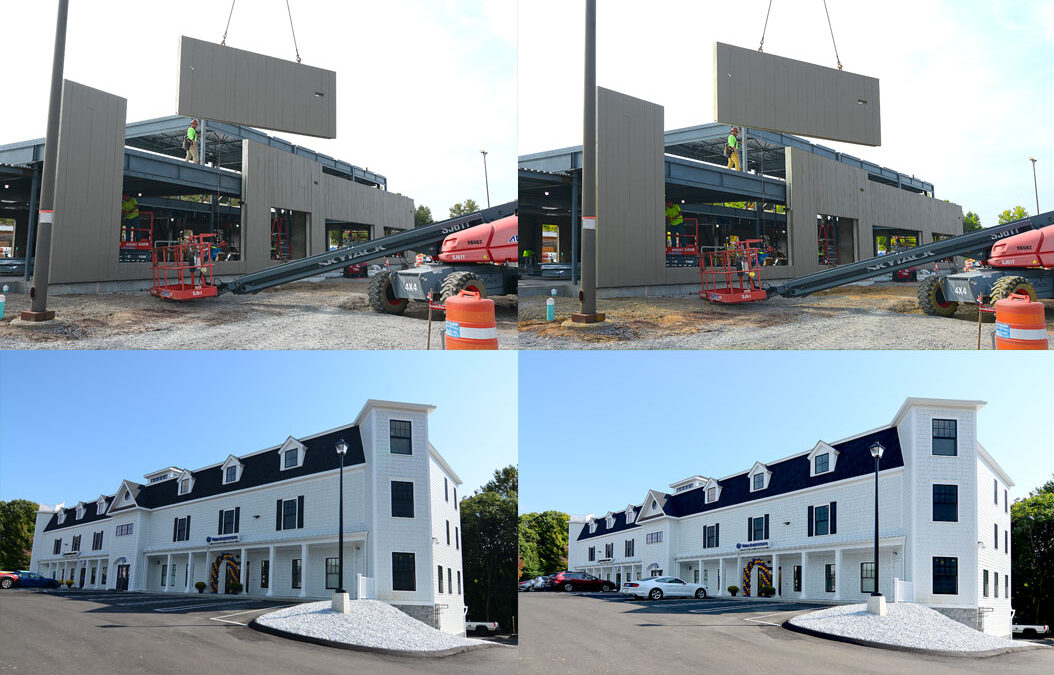
So, you have an assignment to shoot a building but don’t have the distance to use a 50-millimeter normal view lens. I have been faced with this problem numerous times in my 28 years of shooting real-estate, construction and products that can easily distort if you use a wide-angle lens. Two recent examples above include a construction photography assignment where my client was building a rest stop building from scratch in Albany New York. I got to the job site but it was surrounded by an 8-foot chain linked fence with little room to get back far enough to get the whole building. Getting an 8-foot ladder was problematic due to the battlefield of construction obstacles in the way. My regular 50-millimeter lens would cut off some of the building so I had to you my wide-angle lens which gave me the whole building but created distortion. Building distortion is common when you’re forced to stand too close to a building, the sides of the building look crooked and often angle inwards. But have no worries, Photoshop skew tool to the rescue.
Open your photo with distortion, select the entire photo using the marque tool, go to Edit, Transform, Skew. This will give you anchor points at each corner of the photo. If you draw a straight guide line you can than drag your corners outside the photo edge to make your building square and no longer crooked. Many New Jersey construction and New Jersey real estate photographers use this tool to easily correct distortion that is often inevitable in close proximity situations when you have no chose but to use a wide-angle lens to capture your entire subject but are sure to get some distortion which looks very wrong to the naked eye. Using guide lines to align the sides of a building will make your distorted building look straight, normal and correct. Your client sure doesn’t want to hear you didn’t have enough room to shoot the whole building they need photographed, so this magical tool will correct the limitation and your client never needs to know you had some challenges on the job site, they will only see the finished prefect photo and be impressed by your photos.
A second Photoshop tool I use with many photos is Levels. Many photos on location require bracketing lighter or darker depending on limited light availability or clouds. Sometimes it tough to judge your photo exposure in the cameras preview window due to bright sunlight. The Photoshop levels tool is another magical tool that can take a slightly dark exposure and enable you to make the exposure perfect. Select Image, adjust levels and brighten your slightly dark photo using the far-right triangle to the left. Dark shadow areas can to made slightly lighter with mid tone triangle and pushing the first arrow just a little to the right will increase your contrast often resulting in a perfect, dynamic photo.
Another trick is to use unsharp mask mode to made your digital photos razor sharp compared to the way they look straight out of the camera. Choose Filter, Sharpen, Unsharp mask, but don’t push it too far or it will look too sharp and bad. Often just a little bit of sharpening is all you need. So, if you are a construction photographer in New Jersey, Real Estate photographer New York, Medical photographer New Jersey or product Photographer, these are the 3 most valuable Photoshop tools to make your photos look amazing. And when in doubt about a tricky exposure, its’ always best to shoot a little dark as this will give you plenty of information, more pixels that are very easy to lighten to the perfect exposure in post-production. If you shoot a subject to light the pixels are not there so darkening a photo that is too light never looks as good as working with a slightly dark photo and making it lighter.
Ted DeCagna is a New York construction photographer with 28 years experience including shooting Verrazano bridge renovation, State Attorney General Building renovation, Largest sign installation on the New Jersey Turnpike, Bruckner Bridge renovation to name a few.


Recent Comments